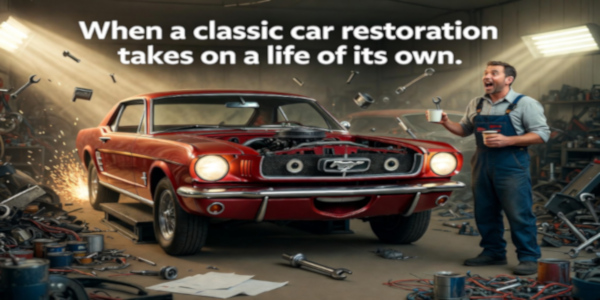
The Steps in a Muscle Car Restoration
1. Planning and Research
Define your goals: concours-level show car, reliable driver, or mild restomod? Research your specific model’s numbers-matching requirements, original colors, and options using factory manuals and resources like Hemmings or marque-specific clubs. Create a detailed budget (including a 20–30% contingency for surprises) and timeline. Source reputable suppliers for reproduction and NOS parts early
2. Inspection, Documentation, and Disassembly
Thoroughly inspect for rust (especially floors, rockers, quarters, and trunk), frame damage, and collision history. Photograph every component from multiple angles and label everything with tags or bags. Perform a complete teardown: remove the engine and transmission, strip interior and trim, detach body panels, and (for frame-off) separate the body from the chassis. Catalog parts meticulously—this prevents lost hardware and aids reassembly.
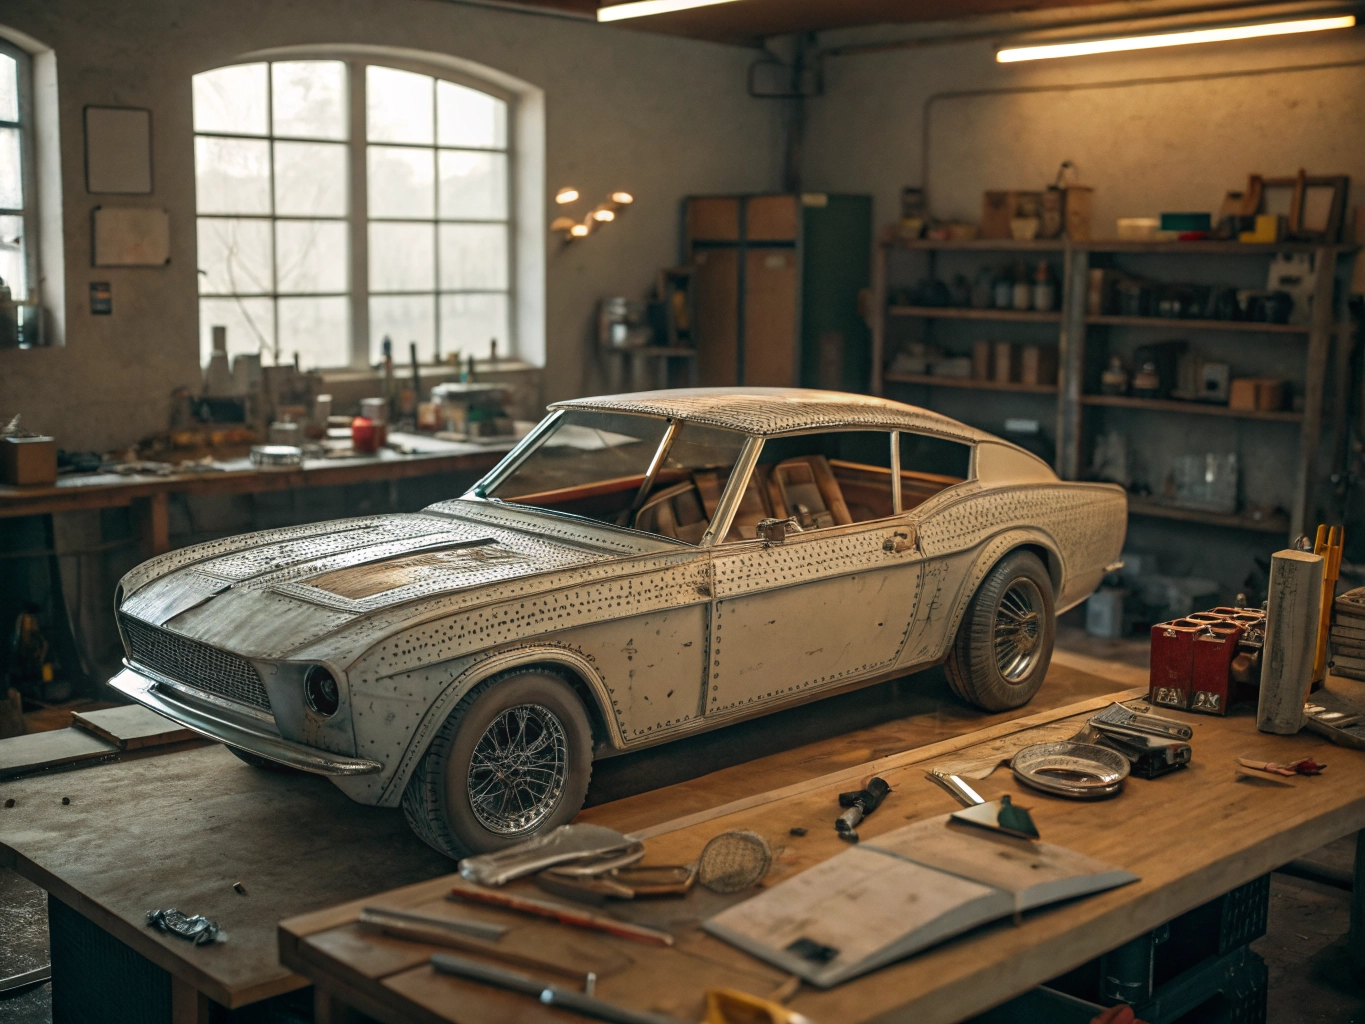
3. Body and Metal Restoration
Media-blast or chemically strip the body and chassis to bare metal to reveal hidden rust. Repair or replace structural panels, floor pans, and frame sections using MIG or TIG welding. Straighten the unibody or frame on a dedicated jig. Apply rust-preventive coatings (epoxy primer, seam sealer) and undercoating. This foundational work ensures longevity and proper panel alignment.
4. Bodywork and Paint
Apply body filler sparingly, then block-sand progressively finer grits for a perfectly straight surface. Prime in multiple coats, block-sand again, and seal. Professional painters typically apply high-quality basecoat/clearcoat systems in the original or period-correct color. Wet-sand and polish for a deep, show-quality shine. Proper curing time between coats is critical.
5. Mechanical Rebuild
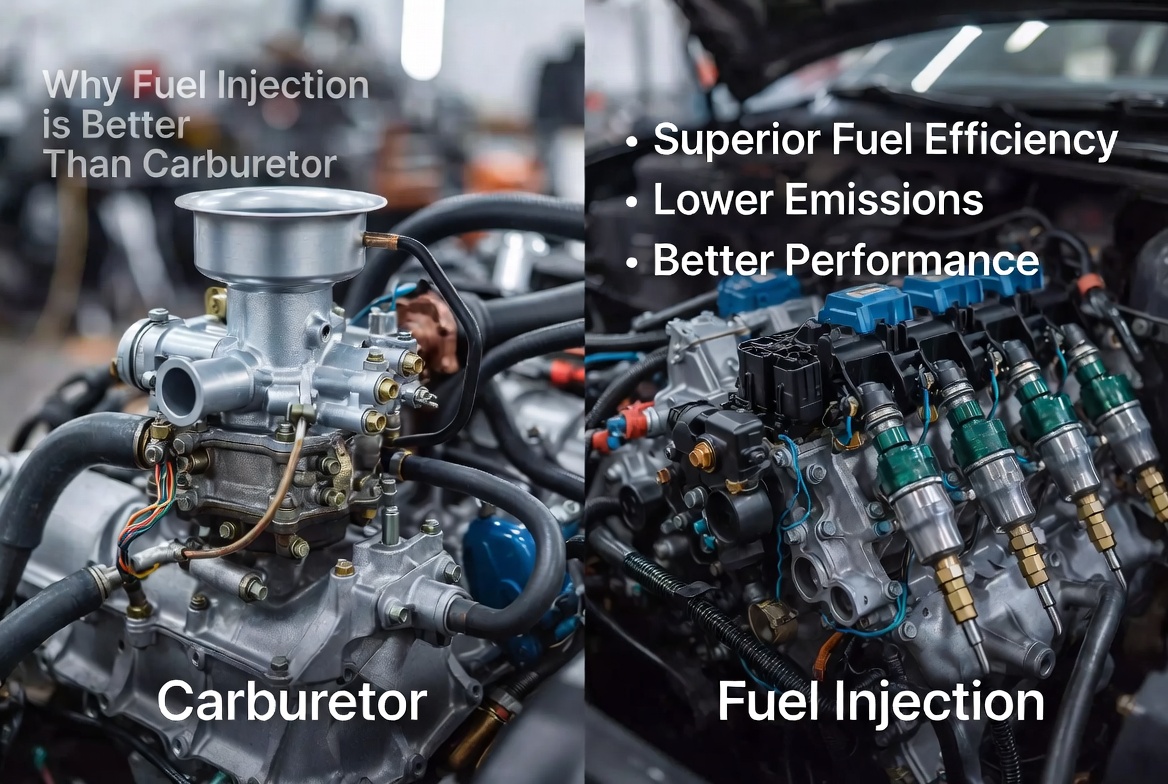
Rebuild or replace the engine (the heart of any muscle car) with new bearings, rings, gaskets, and often a mild performance cam for drivability. Refresh the transmission, rear differential, suspension bushings, springs, shocks, brakes, and steering components. Install a new or restored exhaust, fuel system, cooling system, and wiring harness. Many owners upgrade to modern radial tires and disc brakes while keeping the classic look.
6. Interior, Electrical, and Trim
Restore or replace seats, carpet, headliner, door panels, and dash pad—often farmed out to specialists. Re-chrome or replace brightwork, emblems, bumpers, and glass. Rebuild or replace the wiring harness, gauges, and lighting. Sound deadening and modern upgrades (like a hidden stereo) are popular without altering the original appearance.
7. Reassembly, Detailing, and Final Testing
Reinstall components in reverse order of disassembly, paying close attention to panel gaps and alignment. Drop the engine and transmission last. Detail the engine bay, undercarriage, and interior.
Perform a full safety inspection, fluid checks, and initial startup. Road-test extensively, break in the engine properly, and fine-tune as needed.Success hinges on organization, quality parts, and knowing when to call professionals (especially for paint and upholstery).
The result is a rolling piece of automotive history that looks, drives, and sounds better than new.